क्या आप इन सामान्य किचन रिनोवेशन की गलती कर रहे हैं? शुरू करने से पहले, अपने बजट और समय के भीतर किचन को कवट करने के लिए हमारी रिमोडल रणनीति देखें..
हमारे भारतीय घरों में, रसोई घर का जादुई कोना है. यह वह कमरा है जो हमारे पेट भरता है (और हमारे दिल). घर का अधिकांश काम जहां होता है वहां रसोई का काम होता है, इसलिए यह महत्वपूर्ण हो जाता है कि उन्हें एक साथ सुपर फंक्शनल, यूज़र-फ्रेंडली और सुंदर बनाया जाता है..
इसलिए आपके सपनों के रसोई बनाने और एकीकृत करने में मदद करने के लिए कुछ मूल्यवान सुझाव यहां दिए गए हैं..
चरण 1: रोडमैप बनाएं
प्लानिंग आवश्यक है क्योंकि यह आपको आपके बजट के साथ समन्वय में रखता है. प्रत्येक परिवार के पास अपनी विशिष्ट आवश्यकताओं का सेट है. अगर आप इन आवश्यकताओं को रोडमैप-कम-चेकलिस्ट में सूचीबद्ध करते हैं, तो यह आपको अपनी ज़रूरतों को वास्तविकता में बदलने और एक कुशल रसोई बनाने की अनुमति देता है..
किसी भी पुनर्निर्माण के लिए, सबसे महत्वपूर्ण चरण यह है कि प्लान बनाया जाए. एक पूरा रोडमैप जो आपके हाथ में क्षेत्र, बजट, आप जिन विचारों को शामिल करना चाहते हैं, वह इलेक्ट्रॉनिक किचन डिवाइस जिन्हें आप इंस्टॉल करना चाहते हैं, और इसलिए आपको वांछित परिणाम प्राप्त करने में मदद मिलेगी..
फिक्सचर, फिटिंग या मटीरियल पर सेक्ड करने से पहले आपको किचन लेआउट को अंतिम रूप देना होगा.
चरण 2: रसोई के अनपेक्षित कोने को अनुकूलित करें
कभी-कभी, हम अपने किचन में एक-दूसरे और कोने हो सकते हैं जो मुक्त और बर्बाद होने वाले स्थानों के रूप में प्रतीत होते हैं. उदाहरण के लिए, अगर किचन में बीम या पिलर होता है, तो उनके आस-पास का एरिया बेकार दिखाई देता है. ऐसे क्षेत्रों का उपयोग कैबिनेट और अतिरिक्त स्टोरेज स्पेस बनाने के लिए किया जा सकता है जो बहुत उपयोगी हो सकता है..
मॉडर्न किचन डिजाइन क्लासिकल 'रैप अराउंड' लेआउट- एल या यू शेप के साथ शुरू होते हैं.
चरण 3: किचन बनाएं जो एक्सेस योग्य हो
किचन को रीमॉडल करना बहुत ज़्यादा है, इसलिए कभी-कभी, हम किचन के छोटे और महत्वपूर्ण पहलुओं पर ध्यान नहीं दे सकते हैं. बॉटम स्टोरेज ड्रॉवर, काउंटरटॉप बनाना, ओवन इंस्टॉल करना और आसानी से सुलभ ऊंचाई पर वॉटर प्यूरीफायर इंस्टॉल करना जैसी चीजें कुछ बुनियादी कारक हैं जिन पर विचार करना चाहिए..
चरण 4: किचन सिंक और यूटेंसिल ड्राइंग एरिया की पहचान करें
आज के अधिकांश घरों में रसोई होती है जो विशाल नहीं हैं. वे एक सुन्दर आकार के हो सकते हैं या कभी-कभी छोटे हो सकते हैं, लेकिन बड़े रसोई का विस्तार हो रहा है. छोटे रसोई के लिए, उपलब्ध जगह पर इसके आकार के आधार पर सभी कुछ इंस्टॉल करना महत्वपूर्ण हो जाता है..
हालांकि, किचन सिंक एक अपवाद होना चाहिए क्योंकि अधिक ओवरसाइज़ वाले बर्तनों को साफ करने के लिए जगह चाहिए. किचन सिंक इंस्टॉल करना जो व्यापक और गहरा होता है, वह जगह को बर्तन धोने की आवश्यकता होती है और पानी के टूटने से बचता है. इसके अलावा, बर्तनों को सूखाने के लिए काउंटर पर एक महत्वपूर्ण क्षेत्र होना उन बर्तनों के लिए परफेक्ट होगा जो सूखने के लिए बैठे होंगे..
सिंक ग्रिड आपके फल और सब्जियों को धोने के लिए एक साफ सतह प्रदान करते हैं.
चरण 6: एक्सट्रैक्टर/चिमनी इंस्टॉल करें
हमारे भारतीय किचन लगभग हर दिन तापमान और प्रेशर कुकिंग व्हिसल की लड़ाई देखते हैं. इन गतिविधियों के वाष्प से रसोई के अंदर आर्द्रता बढ़ सकती है. एक्सट्रैक्टर फैन या कुकिंग हॉब से ऊपर का चिमनी होने से आपकी किचन एयर ड्राई और गंधहीन होने पर धूम्रपान और वाष्प को तुरंत चूस जाएगा..
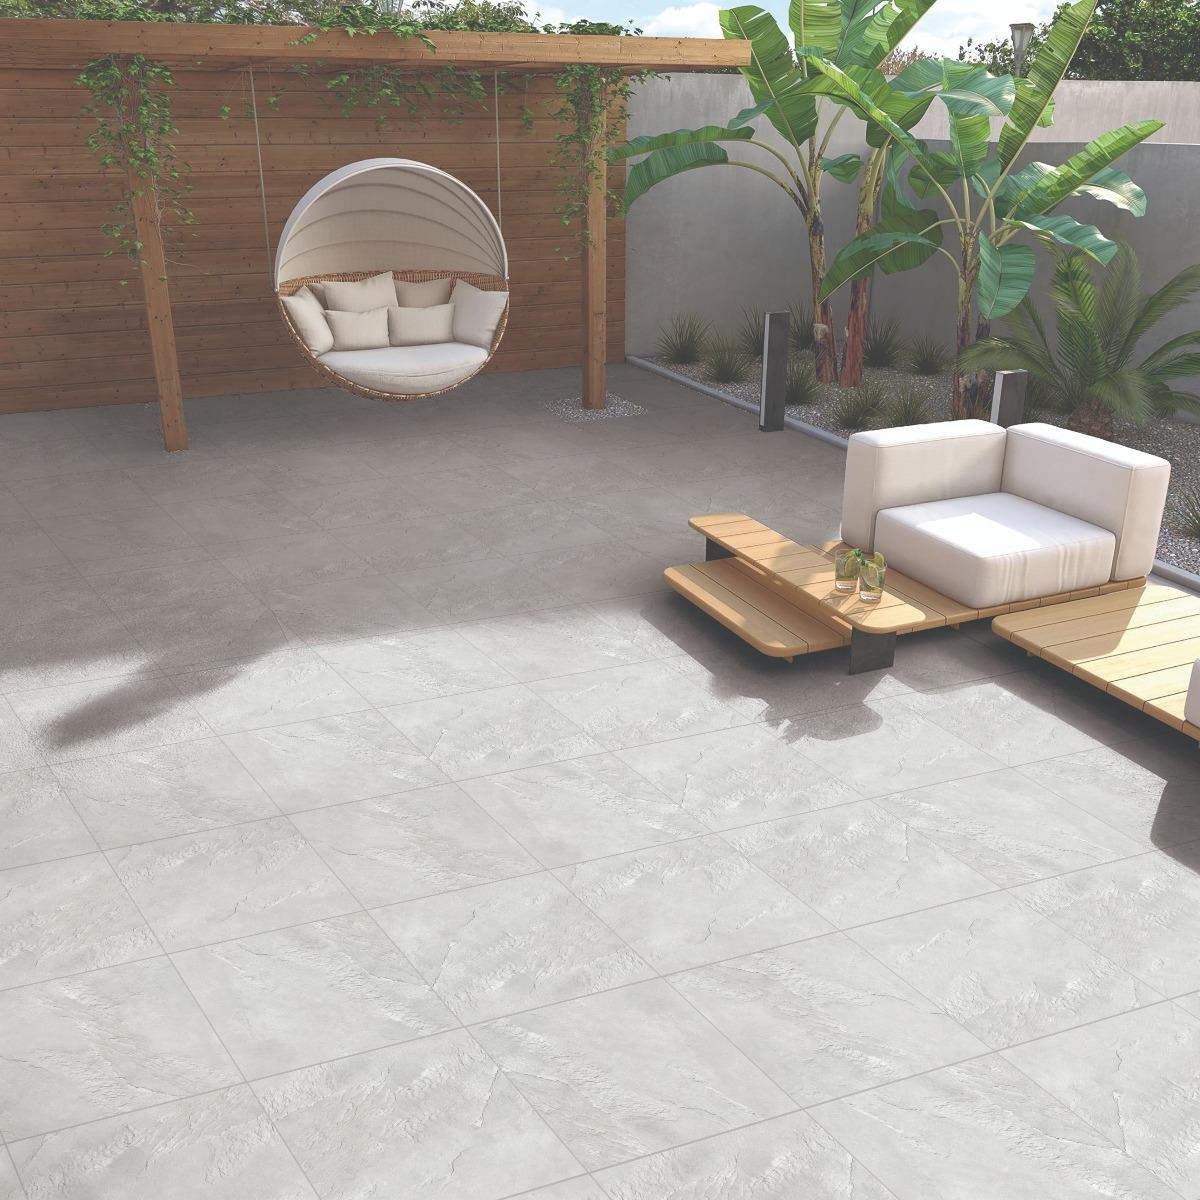
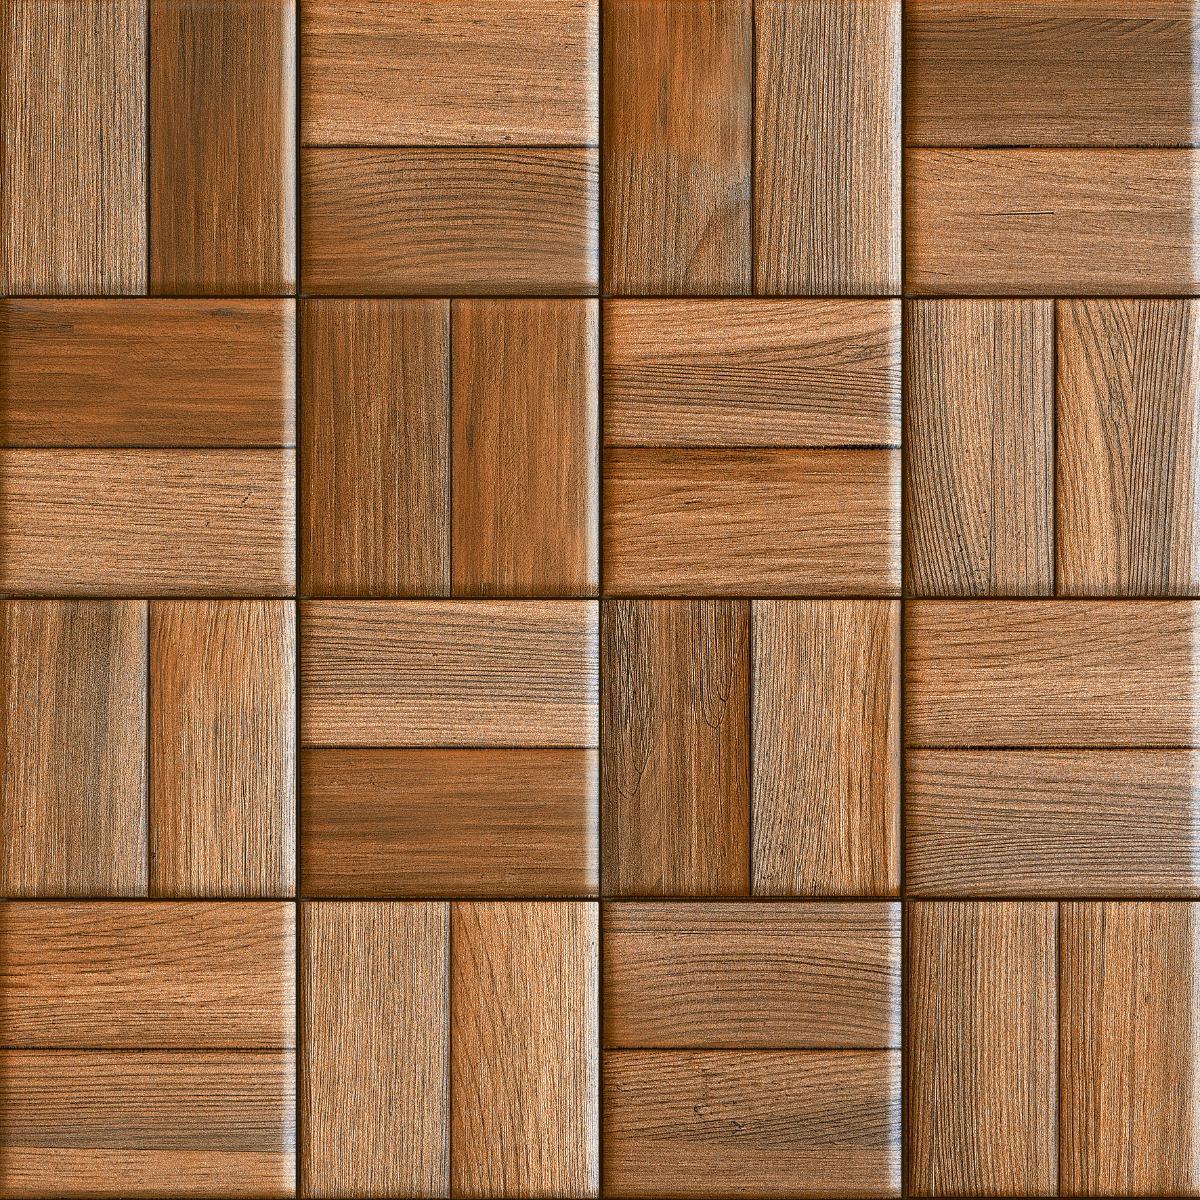
चरण 7: टिकाऊ किचन टाइल्स इंस्टॉल करें
उपयुक्त कलर पैलेट के साथ टाइल्स इंस्टॉल करना, जो साफ करने में आसान होने के दौरान सुंदर दिखता है, मेंटेनेंस की समस्याओं को कम करेगा और जीवन को आसान बनाएगा. किचन को रीमॉडल करते समय यह एक और महत्वपूर्ण कारक है. किचन के कुछ लोकप्रिय रंगों में सफेद, सफेद, बेज, ग्रे और न्यूट्रल शेड्स जैसे पेस्टल ग्रीन, पिंक और ऑरेंज शामिल हैं लेकिन इन्हें प्रतिबंधित नहीं किया जाता है..
इससे पहले, हमारे रसोईघरों में दरवाजों के साथ शेल्फ और कैबिनेट थे. हमने आधुनिक इनोवेशन के लिए उन दरवाजों से बाहर निकालने के लिए धन्यवाद दिया है. इन ड्रॉअर में बहुत आसान चैनल होते हैं जो रिट्रेसमेंट को आसान और झंझट-मुक्त बनाते हैं. पुल-आउट ड्रॉयर के साथ अच्छे ओल शेल्फ को बदलने से बुजुर्गों के घरों के लिए इसे आसान बना दिया गया है. अब वे बिना किसी परेशानी के आसानी और आराम से सब कुछ एक्सेस कर सकते हैं..
कैबिनेट खरीदते समय, सुनिश्चित करें कि वे क्वालिटी हो. आप डवटेल जोड़ों के साथ ड्राअर की जांच करके बता सकते थे.
उनके आकर्षक प्रदर्शन के बावजूद, भारी-शुल्क रसोई के लिए खुले रसोई की सलाह नहीं दी जाती है. खुले रसोई का मतलब है कि सभी खाद्य पदार्थ निर्धारित किए जाते हैं और लिविंग रूम की यात्रा कर सकते हैं. यह लिविंग रूम को रसोई की तरह गंध बना सकता है, कुछ ऐसा नहीं है जो सभी को नहीं चाहिए. एक अलग, एनक्लोज्ड किचन होने से आप गोपनीयता प्राप्त कर सकते हैं और उच्च मात्रा में सुगंध और वाष्प को दूर रख सकते हैं..
मण्णिका मित्रा ओरिएंटबेल टाइल्स में डिजिटल कंटेंट और मार्केटिंग मैनेजर के रूप में अपनी भूमिका के लिए अनुभव की संपत्ति लाती है, जो पिछले 5 वर्षों से कंपनी से जुड़ी हुई है. उद्योग में कुल 12 वर्षों के साथ, मण्णिका में दिल्ली विश्वविद्यालय से कला की डिग्री और पत्रकारिता और जन संचार में स्नातकोत्तर डिप्लोमा है. उनकी यात्रा ने एएनआई, एनडीटीवी और हिंदुस्तान टाइम्स जैसी सम्मानित समाचार एजेंसियों में डिजिटल उत्पादक के रूप में अपना एक्सेल देखा है..


 600x1200 मिमी